
In the world of microcontrollers and DIY electronics, the Arduino platform is a favorite for building all sorts of projects. Whether you’re a seasoned Arduino enthusiast or just getting started, creating an interactive display can be a fascinating project that not only enhances your skills but also has real-world applications. In this blog, we’ll walk you through the process of setting up and programming a display for your Arduino.
Choosing the Display
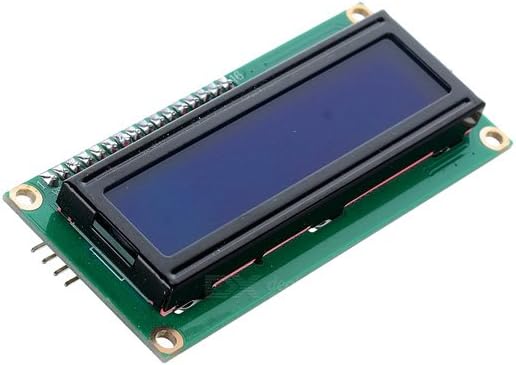
The first step is selecting a display. For this guide, we’ll use a common choice: a 16×2 character LCD (Liquid Crystal Display). It’s a versatile and affordable option for various projects.
Wiring the Display
Before we start coding, you’ll need to connect the display to your Arduino. Here’s a basic wiring diagram:
- Connect the VSS pin to the ground (GND) on the Arduino.
- Connect the VDD pin to the 5V output on the Arduino.
- Connect the V0 pin to a variable resistor (e.g., a potentiometer) for adjusting contrast.
- Connect the RS pin to digital pin 12 on the Arduino.
- Connect the RW pin to the ground (GND) on the Arduino.
- Connect the EN pin to digital pin 11 on the Arduino.
- Connect the D4, D5, D6, and D7 pins to digital pins 5, 4, 3, and 2 on the Arduino, respectively.
Installing the Library
To make coding the LCD easier, you’ll want to install the “LiquidCrystal” library for Arduino. Here’s how to do it:
- Open the Arduino IDE.
- Go to “Sketch” -> “Include Library” -> “Manage Libraries.”
- In the Library Manager, type “LiquidCrystal” in the search bar.
- Click on “Install” for the “LiquidCrystal” library.
Parts you need


Writing the Code
Now, let’s write the code to display some text on the LCD. Below is a simple example:
#include <LiquidCrystal.h>

// Define the LCD object
LiquidCrystal lcd(12, 11, 5, 4, 3, 2);

void setup() {
// Initialize the LCD with the number of columns and rows
lcd.begin(16, 2);

// Print a message to the LCD
lcd.print("Hello, Arduino!");
}

void loop() {
// Nothing to do in the loop for this simple example
}
Uploading and Testing
After writing the code, connect your Arduino to your computer and upload the code using the Arduino IDE. Ensure that the correct Arduino board and port are selected.
Once the code is uploaded, you should see the text “Hello, Arduino!” displayed on your LCD. You can experiment by changing the message or creating more advanced displays with different information.
Conclusion
Creating an interactive display for your Arduino projects is a great way to add a user interface and provide real-time information. In this blog, we covered the basics of setting up a 16×2 LCD and writing code to display text. From here, you can explore more complex displays, such as graphical LCDs or touchscreens, and expand your Arduino skills. Happy coding and building!