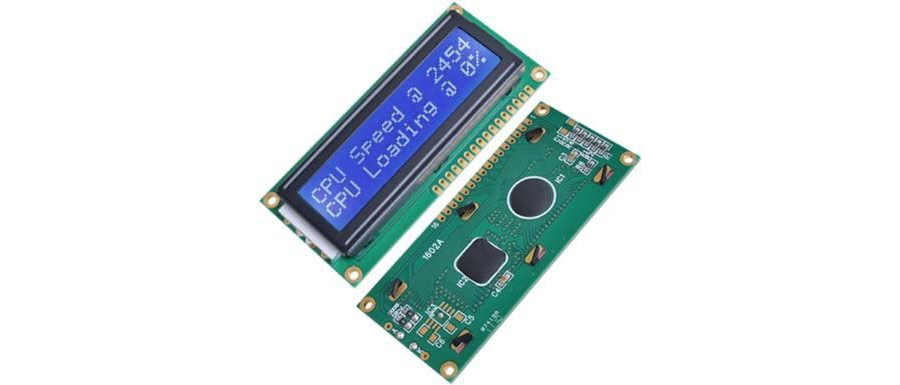
I have a 16×2 LCD display for the arduino.
16X2 refers to the fact that it has the capability to do 16 characters wide and 2 rows high. As you will see from the code they reference the rows 0 and 1.
| Parts Needed |
| In my video but not needed are a temp sensor and photocell |
This is the code that comes with the sensor. This is strange on how this is currently working. Specially wired according to specs found digging around. Watch my video or check out the images that show why I would leave the power unplugged from the sensor
#include <LiquidCrystal.h>
#include <math.h>

double Thermister(int RawADC) {  //Function to perform the fancy math of the Steinhart-Hart equation
 double Temp;
 Temp = log(((10240000/RawADC) - 10000));
 Temp = 1 / (0.001129148 + (0.000234125 + (0.0000000876741 * Temp * Temp ))* Temp );
 Temp = Temp - 273.15;              // Convert Kelvin to Celsius
 Temp = (Temp * 9.0)/ 5.0 + 32.0; // Celsius to Fahrenheit - comment out this line if you need Celsius
 return Temp;
}

LiquidCrystal lcd(7, 8, 9, 10, 11 , 12);


void setup() {
  pinMode(A0, INPUT);//Only needed for sensor
  pinMode(A1, INPUT);//Only needed for sensor
  lcd.begin(16, 2); //this tells the lcd include that you have a 16x2
  lcd.setCursor(0,1); //this sets the position to start displaying data character 0 and row 1
  lcd.write("LIGHT: "); //write out the word light
  lcd.setCursor(0,0); //now move to first character on row 0
  lcd.write("TEMP: ");//write the word TEMP
}

void loop() {

  lcd.setCursor(7,0); //I am on row 0 and already wrote TEMP so now I get so I am past TEMP
  lcd.print(Thermister(analogRead(A1))); //This calls the function above to get the temp and do the math

  int sensorValue = analogRead(A0); //reads the photocell
  lcd.setCursor(7,1);//moves to row 1 at character 7
  lcd.print(sensorValue); //displays the light value
  delay(1000);
  }

I documented the code with all the things that are going on. The nice part is once this is set up you can do the same for each sensor. We could have many sensor and loop them all to see many values. Watch my video in action.

