
Why this project is awesome
If you like practical builds, this one is a perfect weekend project. We’ll use an Arduino to read real sensor data and a Raspberry Pi to show it on a simple web dashboard you can open on your phone.
What you’ll build
- Temperature + humidity sensor node (Arduino)
- Serial data feed to Raspberry Pi
- Live dashboard page with auto-refresh
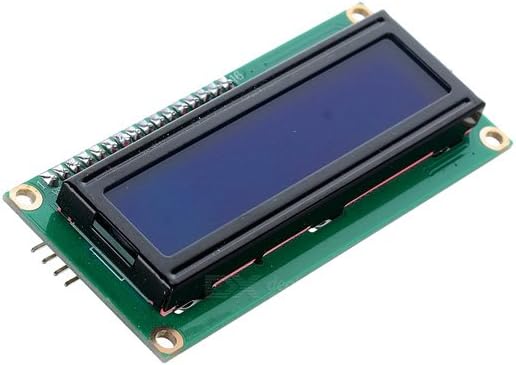
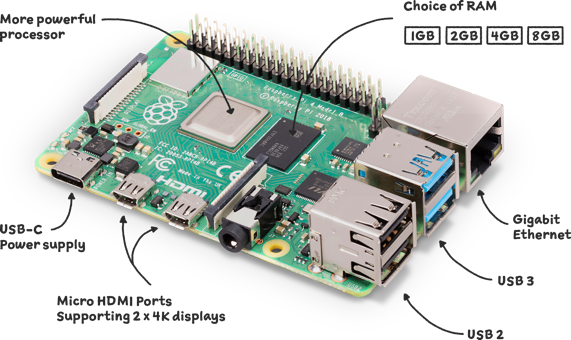
Parts list
- Arduino Uno/Nano
- DHT22 (or DHT11) sensor
- Raspberry Pi (any recent model)
- USB cable + jumper wires
Arduino sketch
Upload this sketch to your Arduino. It sends temperature and humidity over serial every 2 seconds.
#include <DHT.h>

#define DHTPIN 2
#define DHTTYPE DHT22
DHT dht(DHTPIN, DHTTYPE);

void setup() {
  Serial.begin(9600);
  dht.begin();
}

void loop() {
  float h = dht.readHumidity();
  float t = dht.readTemperature();

  if (!isnan(h) && !isnan(t)) {
    Serial.print("TEMP:");
    Serial.print(t);
    Serial.print(",HUM:");
    Serial.println(h);
  }
  delay(2000);
}
Raspberry Pi Python reader
Save this as sensor_reader.py on your Pi and run it to write the latest readings into a JSON file.
import serial, json, time

ser = serial.Serial('/dev/ttyACM0', 9600, timeout=1)

while True:
    line = ser.readline().decode(errors='ignore').strip()
    if line.startswith('TEMP:') and ',HUM:' in line:
        try:
            temp = float(line.split('TEMP:')[1].split(',HUM:')[0])
            hum = float(line.split(',HUM:')[1])
            data = {"temperature_c": temp, "humidity_percent": hum, "updated": time.time()}
            with open('/var/www/html/sensor.json', 'w') as f:
                json.dump(data, f)
            print(data)
        except Exception:
            pass
Simple dashboard page
Create index.html in your web folder and display the JSON values:
<!doctype html>
<html><head><meta charset="utf-8"><title>DIY Sensor Dashboard</title></head>
<body style="font-family:Arial;max-width:700px;margin:40px auto;">
  <h1>DIY Sensor Dashboard</h1>
  <p id="temp">Temp: --</p>
  <p id="hum">Humidity: --</p>
  <script>
    async function loadData(){
      const r = await fetch('sensor.json?'+Date.now());
      const d = await r.json();
      document.getElementById('temp').textContent = 'Temp: ' + d.temperature_c + ' °C';
      document.getElementById('hum').textContent = 'Humidity: ' + d.humidity_percent + ' %';
    }
    loadData(); setInterval(loadData, 3000);
  </script>
</body></html>
Final tips
- Start with USB serial first before adding Wi-Fi.
- Once stable, move to MQTT for cleaner scaling.
- Add alerts later (high temp warning to phone).
If you want, I can publish a part 2 showing MQTT + Home Assistant integration.